如何在windows下快速模拟搭建Linux环境
准备工作
下载安装 Oracle VM VirtualBox
下载安装 vargent
下载virtualbox镜像 centos7或centos8
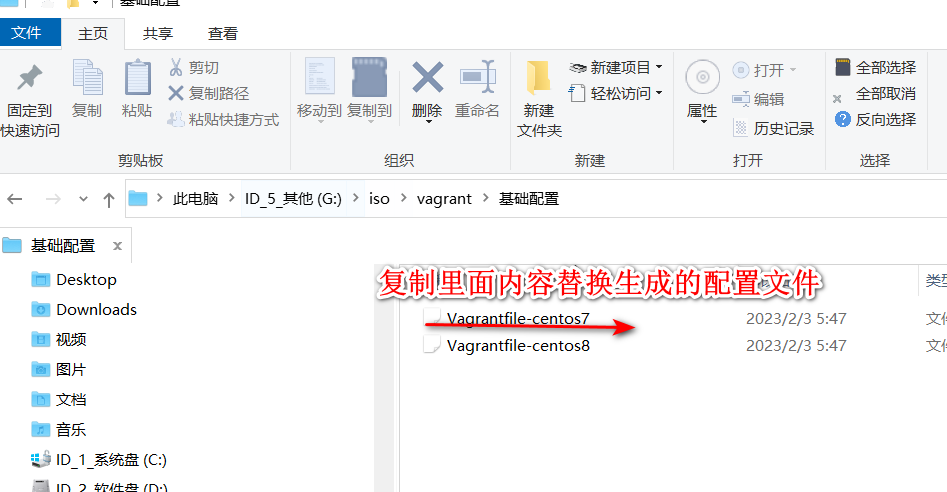
下载基础配置 Vagrantfile-centos7或Vagrantfile-centos8
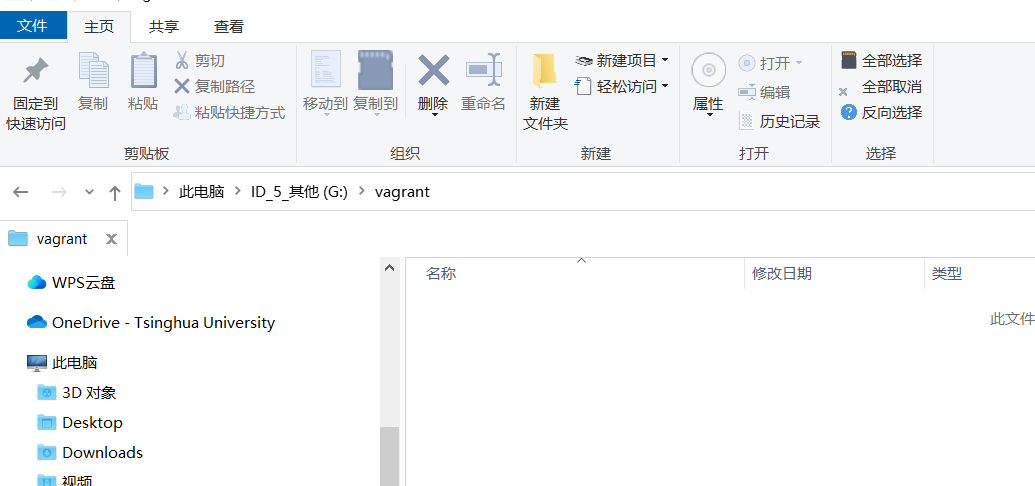
进入磁盘创建目录 存放需要安装的操作系统
- 如下图
进入到 磁盘上 双肩目录 vagrant–存放需要安装的操作系统
**注意:**盘符和目录不能出现中文
在Vagrant中安装Centos本地镜像
查看是否安装过相关镜像
1 | vagrant box list |

将事先准备好的centos镜像安装到本地

1 | vagrant box add centos/7 C:\Users\admin\Desktop\镜像\virtualbox7.box |

查看本地镜像是否安装成功
1 | vagrant box list |
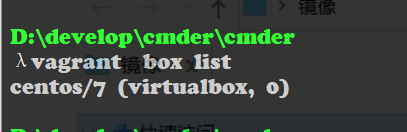
记住:我们通过Vargrnt刚才在本地安装了一个centos7的镜像 名称叫 centos/7
安装Centos7操作系统
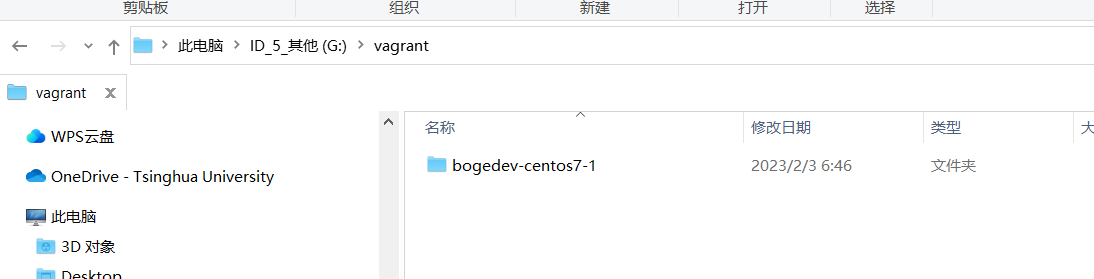
进入我们事先创建好的目录 vagrant
创建一个目录存放接下来要安装的centos7操作系统
如 bogedev-centos7-1
在该目录下执行cmd命令,切入到命令行
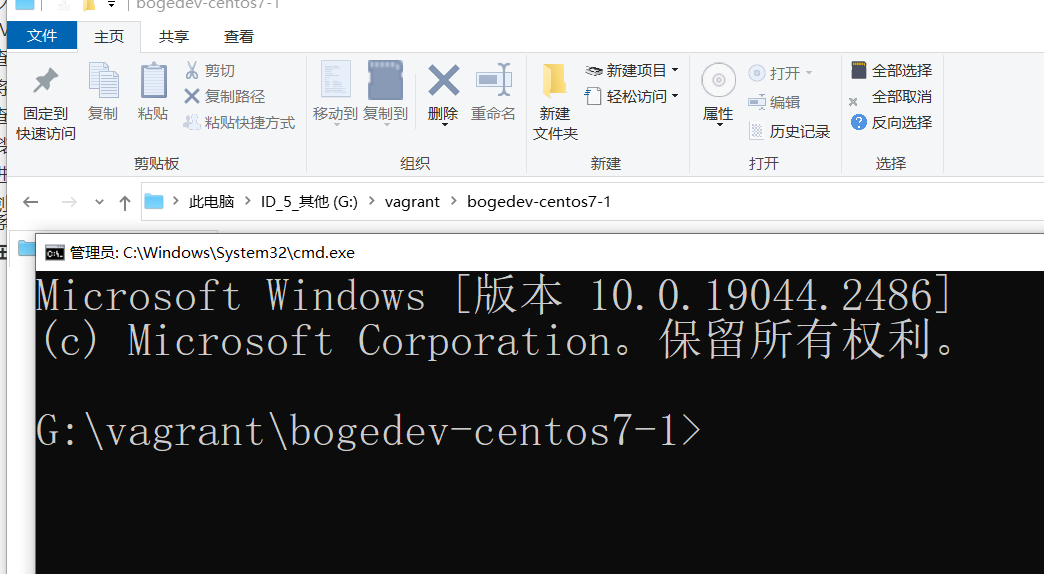
执行vagrant init命令完成系统配置初始化
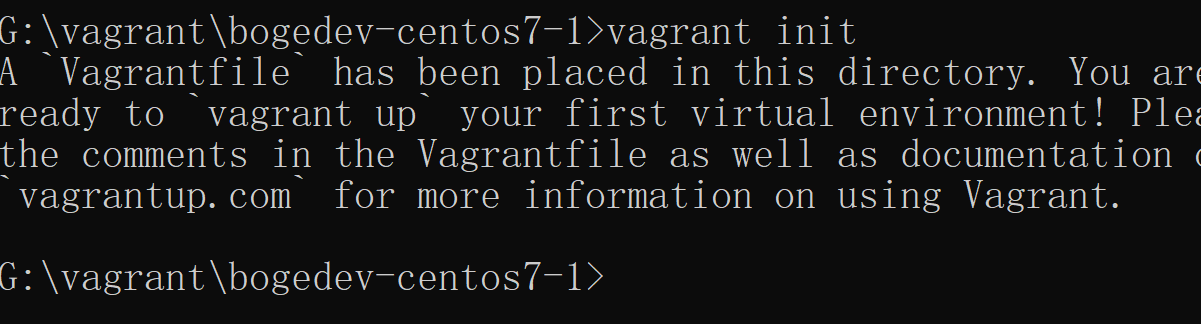
查看目录下是否多了一个文件
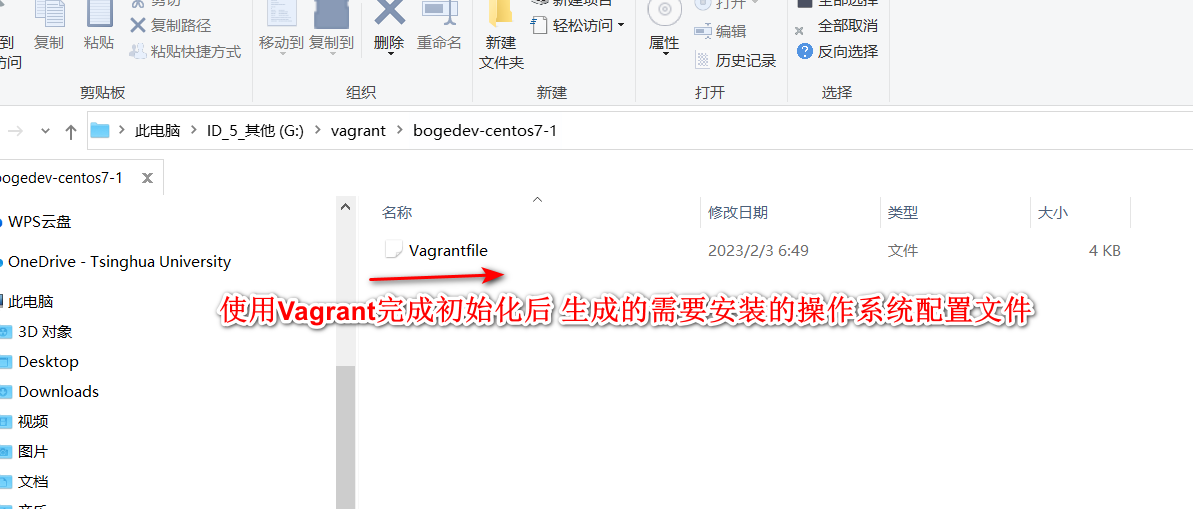
将事先准备的配置文件内容替换到刚刚生成的配置文件中
配置文件说明
1 | # -*- mode: ruby -*- |
- config.vm.box = “centos/7”
安装的操作系统镜像 这里指定为事先安装好的本地镜像即可
- 操作系统的基础配置 内存 cpu 名称等
config.vm.provider “virtualbox” do |vb|
vb.memory = “3000”
vb.name= “boge-centos7-1”
vb.cpus= 2
end
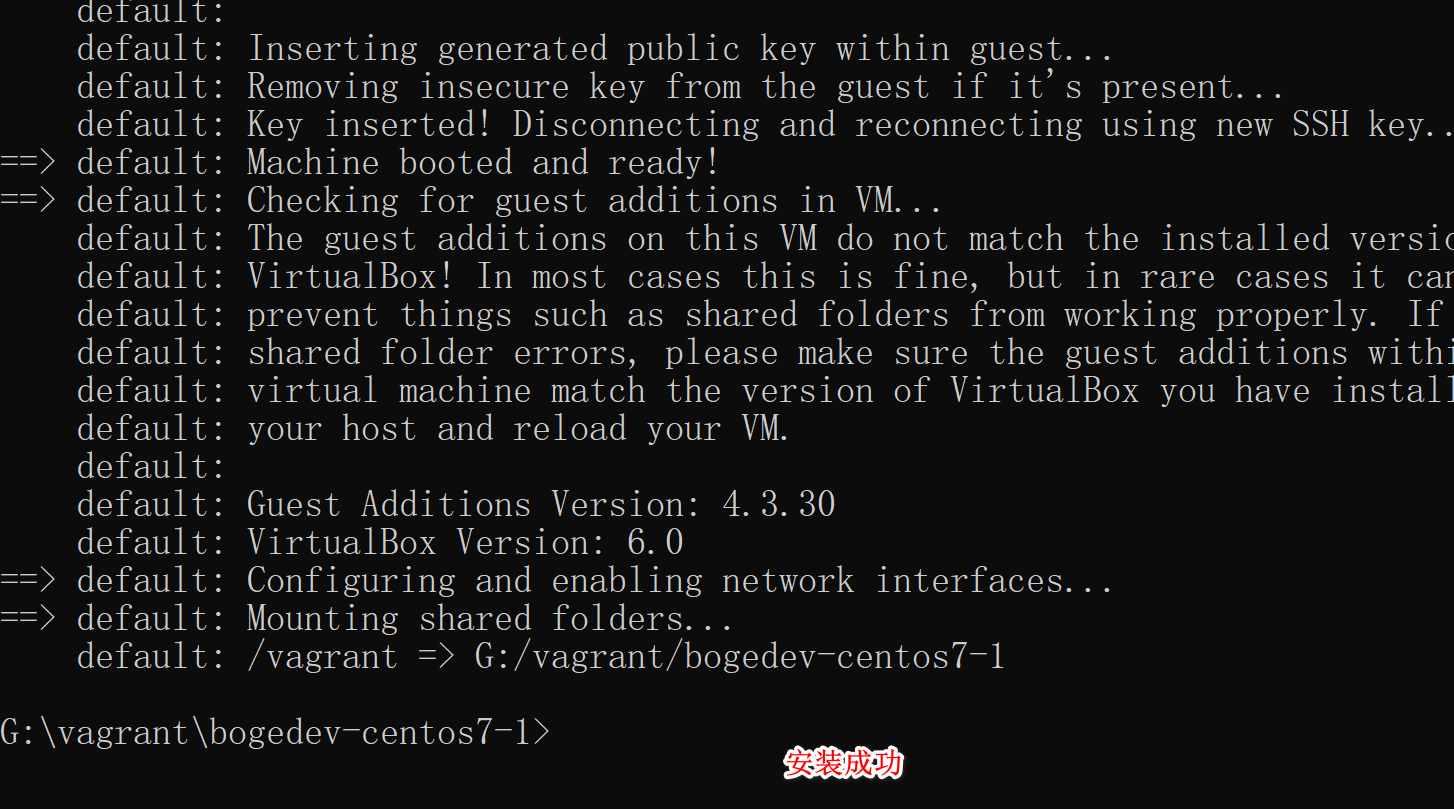
执行如下命令进行操作系统安装

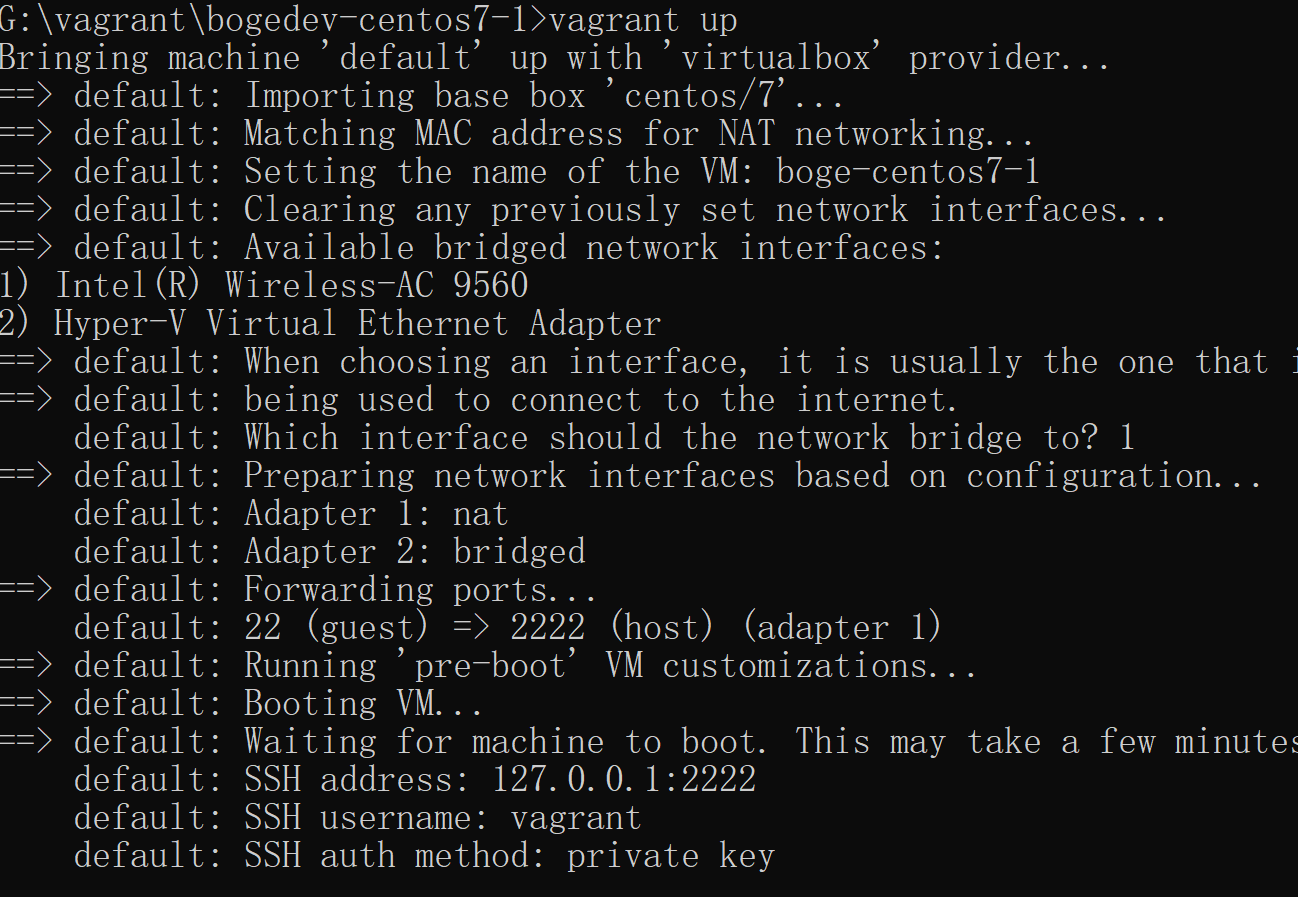
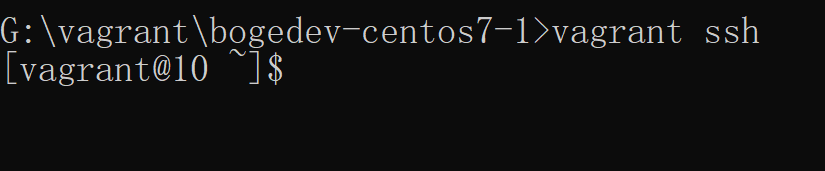
登录Centos7操作系统
输入 vagrant ssh命令登录
测试网格
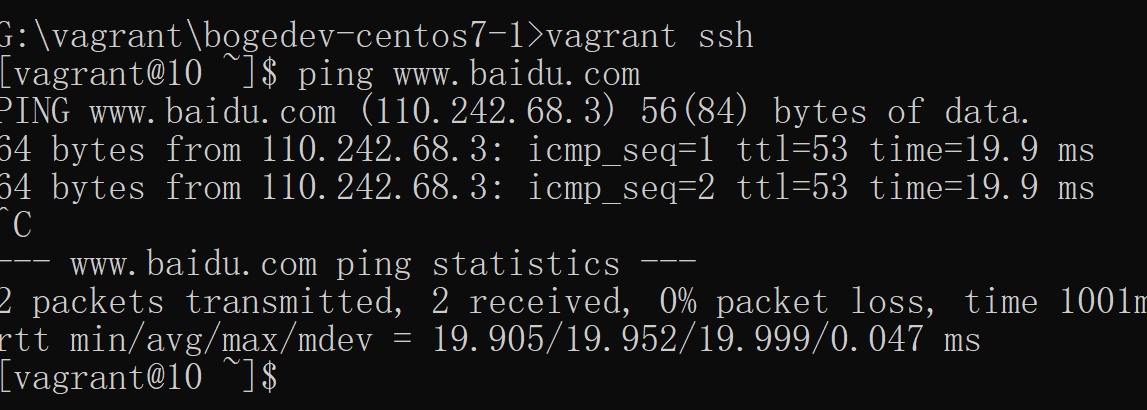
可以上网说明centoss虚拟机和物理机连接没有任何问题,大功告成
测试使用Xshell连接虚拟机
1 | sudi -i 切入到centos下 |
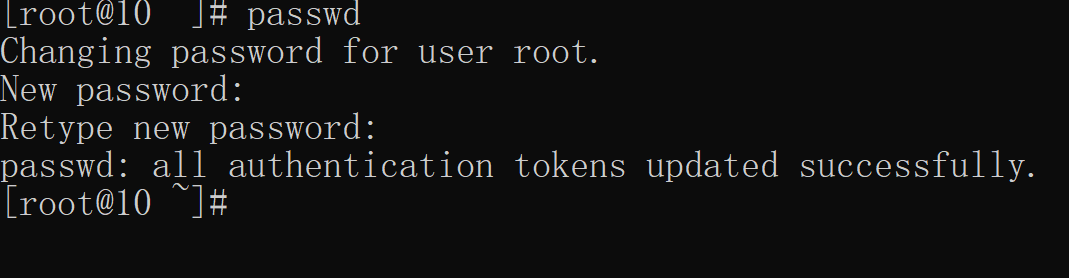
先修改root密码
重启ssh服务

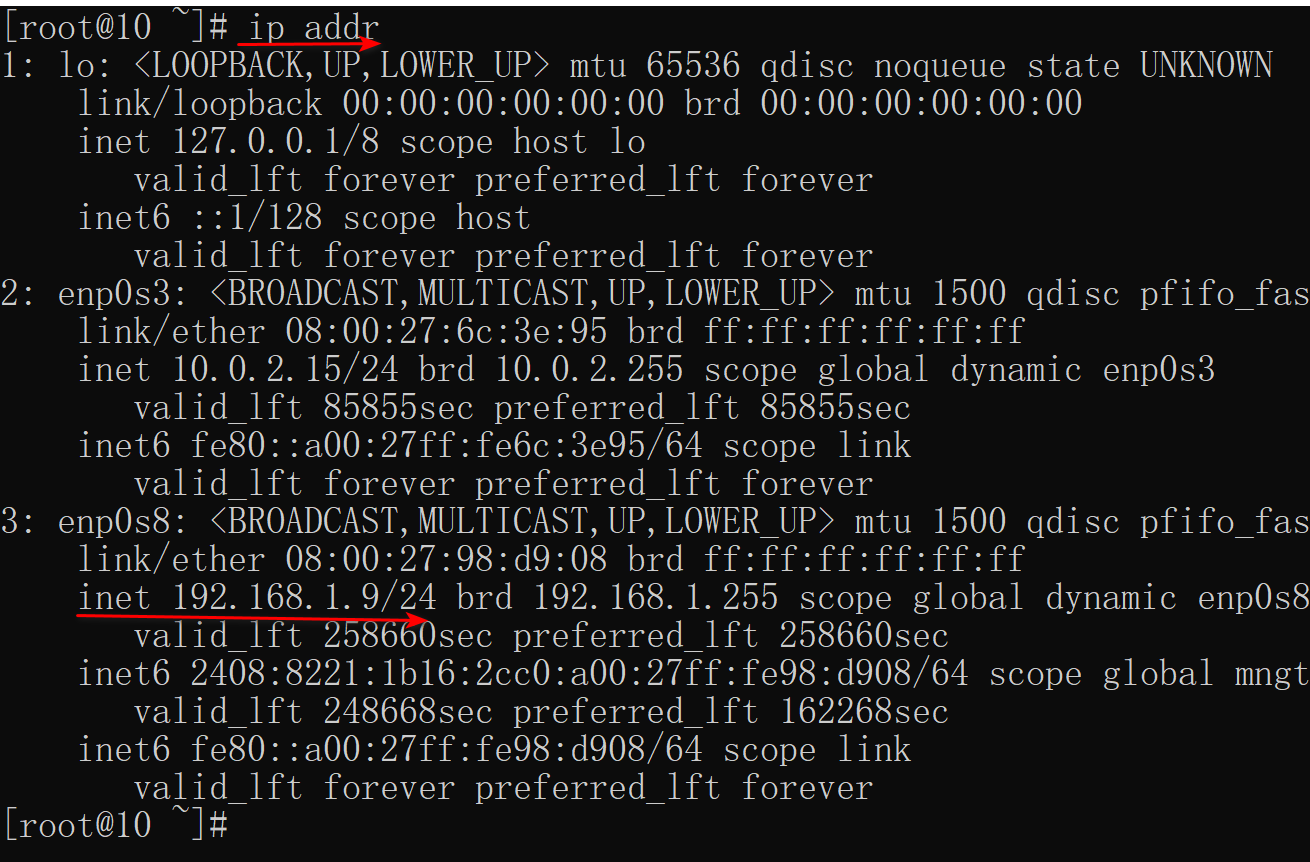
查看虚拟机ip地址
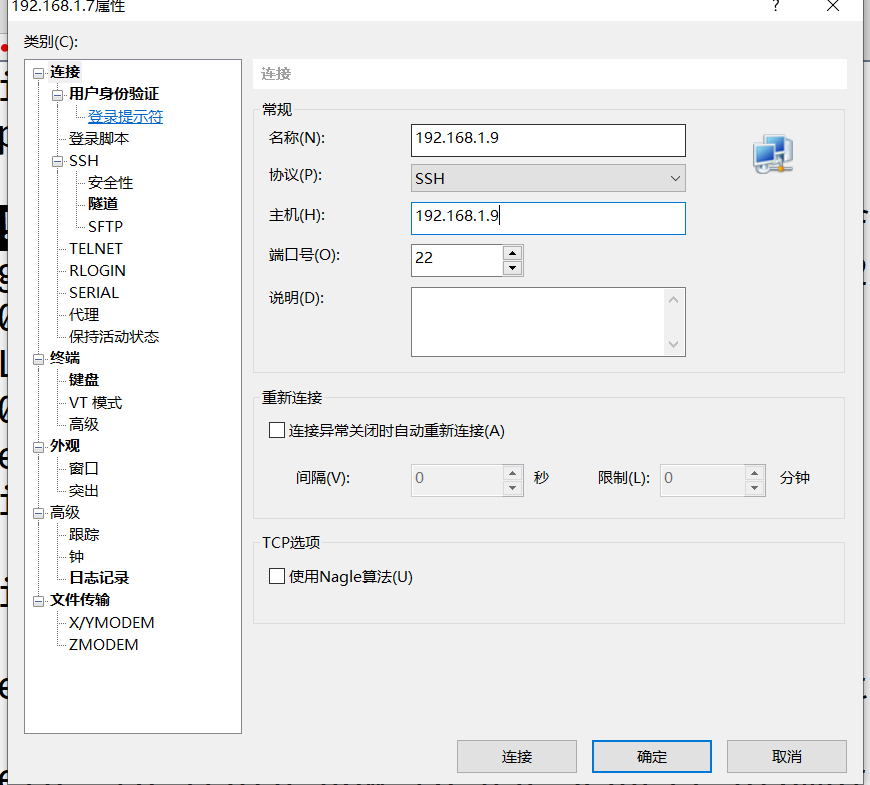
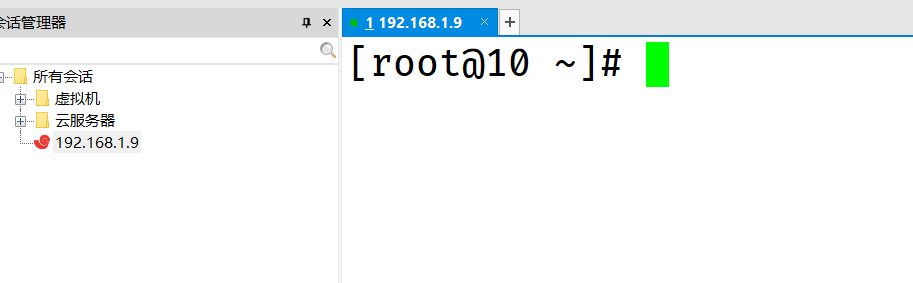
使用xshell连接
查看安装的centos版本

本博客所有文章除特别声明外,均采用 CC BY-NC-SA 4.0 许可协议。转载请注明来自 博哥编程日记!